Monday, December 9, 2019

Finishing up the Final Project

After I uploaded the video in the correct spot on the app, I wanted to test the results! I stood up the cereal box and used the scanner on the app to hover over the hand on the robot. When I used my phone to scan the picture, the video appeared exactly where I wanted it. I have posted a video of what the augmented reality looked like below!


Here is my username on the HP Reveal app so you can check out my project: victoriagrant1

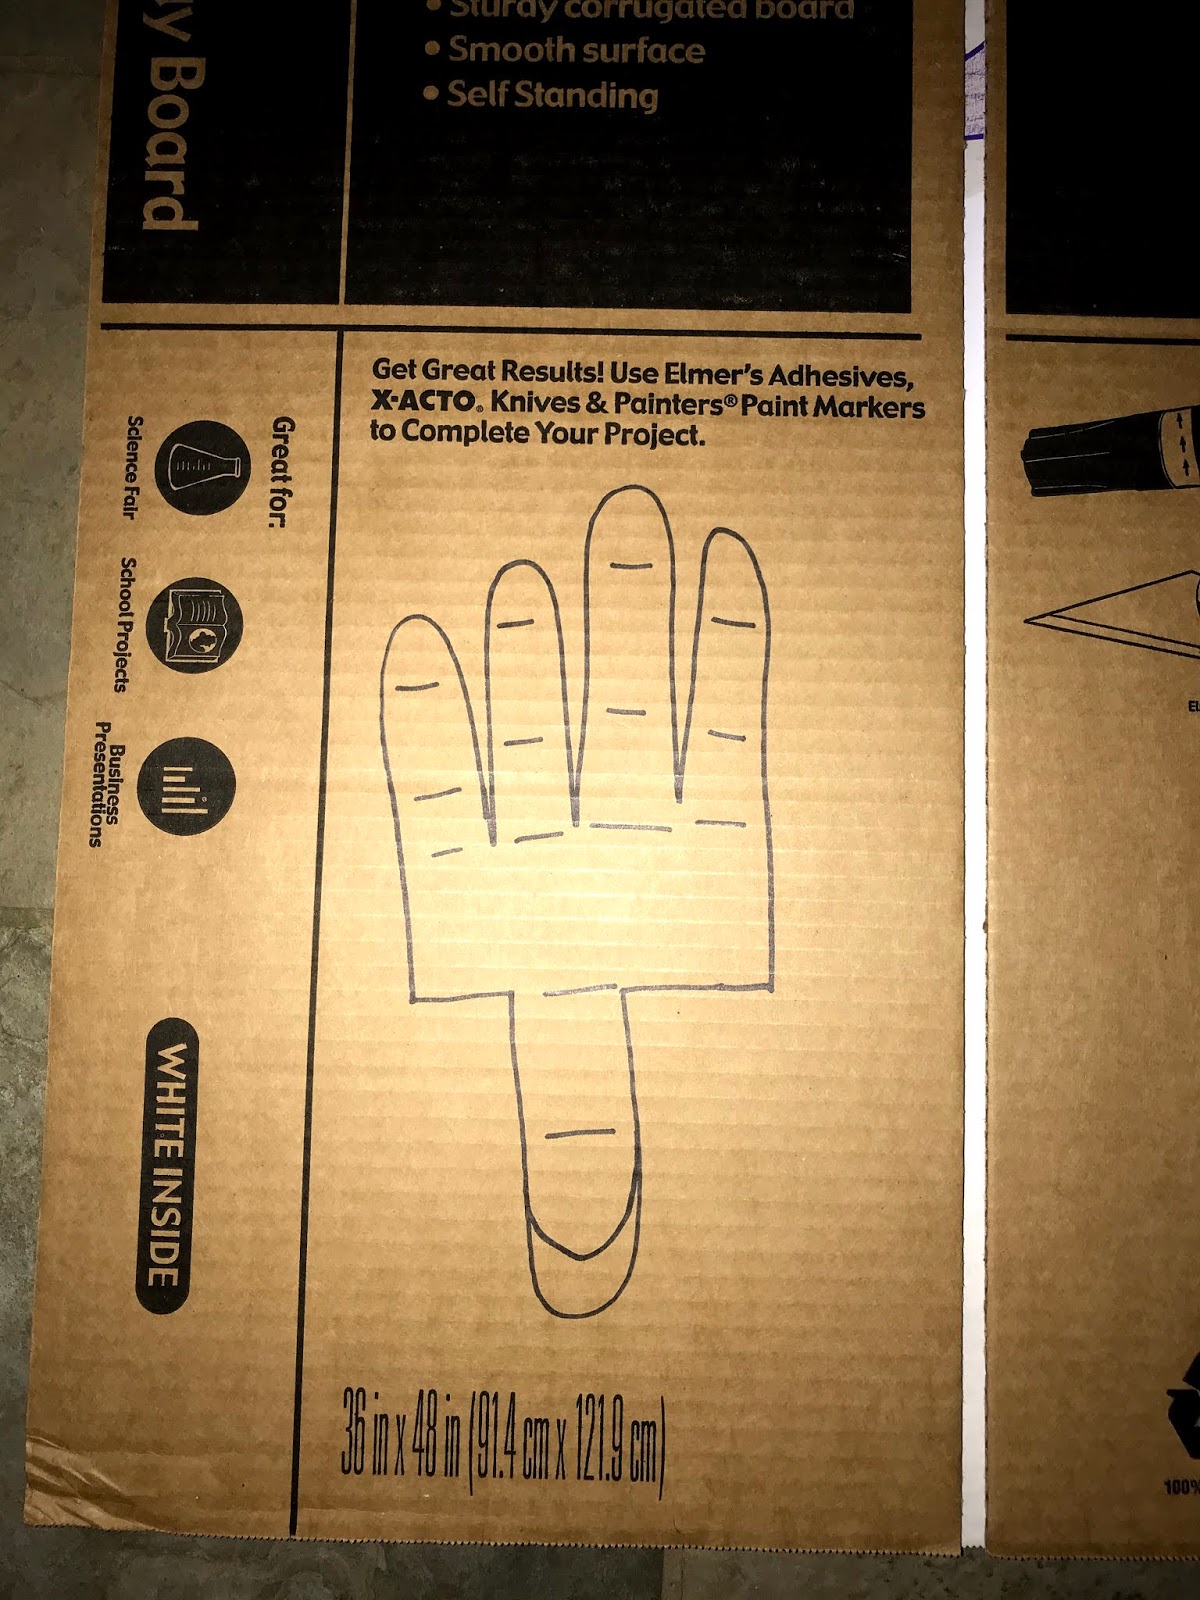
Here is the picture that I used so you can view the augmented reality!


This final project was really fun and a great way to tie up the semester and combine two projects that I really enjoyed! I have learned so much in this course and can't wait to see where I can apply what I have learned in this course in the future. 


Starting my Final Project

For my final project in this course, I decided to combine my robotic hand project and augmented reality using the HP Reveal app. I wanted to combine the two as my robotic hand was my favorite project that I completed this semester and I really like the idea of using the HP Reveal app to create augmented reality.

My first step was to find an image to use for the augmented reality. I decided to use a picture of a robot and so I printed it out and pasted it on a cereal box. A picture of this is posted below.


After I had my image pasted onto the box, I used the HP Reveal app to create some augmented reality. I used the app and uploaded a video that I took of my robotic hand in motion. That video is below.


I uploaded the video over the hand of the image of the robot so that it would look like the robot was moving its hand when scanned by the app. This process was pretty easy and just took the right placement to look like how I wanted it to. 


Sunday, November 10, 2019

Finished product!

After completing the code on Snap!, the hand was all set to give a final test to make sure that it worked correctly. I tightened up some loose ends, re-glued a couple of parts, and it was ready to test out. The finished product works great and I am very pleased with how it turned out! Even though it took a little bit of trial and error and re-doing some parts, it worked out in the end and taught me that sometimes it takes a couple tries to make something work how you want it to and that is okay!

Here is a video of the final product:


I am happy with how the robotic hand turned out and I am excited about possibly doing more Hummingbird projects in the future! 


Using Snap! to make the code for the hand

After the hand was complete with the servo motor, the next thing to do was to complete the code on Snap! for the hand to move. This part was pretty simple because there weren't too many parts to add but it did take a little while to get the correct angle measurements. This part took a lot of trial and error before finding the right degree to set the servo at for the hand to move correctly. The servo motor seemed to not be strong enough and wasn't rotating correctly.

The final code that I used for the hand is found below.


Working with the Servo Motor

After the hand was constructed, the next step was to work with the servo motor and attach it to the hand. The first thing that I did was use a screwdriver and unscrewed the original white circle off of the motor and I switched it out for the red cross piece.


Next, I cut out three small pieces of cardboard and used a hot glue gun to glue all of them together as a base where the servo would sit for more support. After gluing those together, I hot glued the servo onto the base and then the whole thing was hot glued onto the hand. 


After the base was glued onto the hand, the next thing that I did was go into Snap! and I set the servo motor to 0°. After this was set, I hot glued all of the five pieces of yarn onto the servo motor on the red cross. This took many tries and I had to re-glue the yarn a couple times because it was not working out in certain placements. I finally found the right place and hot glued the yarn and reinforced it with some tape. 


Wednesday, November 6, 2019

Beginning to create/construct the Hummingbird Robotic Hand

I found an idea on the Hummingbird kit website of creating a robotic hand using the Hummingbird and I wanted to try it!

The first step was to trace and cut out the shape of a hand using cardboard. The lines on all of the fingers and thumb were reminders for me of where to cut slits into the cardboard to help the hand move correctly. Here is a photo of what that looked like on the piece of cardboard before and after cutting it out.


The next step was to use a sharp blade to cut out the hand and also make slit marks where they were marked on the hand. I also cut out little pieces of a plastic straw and hot glued them on all of the fingers in between the slit marks. 


I then took pieces of yarn and cut five pieces that were all roughly the same length. I put the string through the pieces of straw on each finger and also cut a slit in the middle of the hand in between the 4 fingers and the thumb which is where all of the pieces of string would meet and go through the slit in the hand to come out through the back of the piece of cardboard. This took a little bit of time to fit all of the pieces of string through the pieces of straw and work them through the slit of the hand and the end result looked like this: 


Tuesday, October 15, 2019

Microbit: Crashy Bird Game

For my microbit project I decided to do the game Crashy Bird. I used a code that was on the microbit website for the game and followed the steps provided to create the software to download to the hardware. The goal of the game is to direct a 'bird' through a series of obstacles without hitting into any of them. If the 'bird' hits an obstacle then the game is over. The part that I added that is my own is if you hit A+B, a heart icon will appear. At the end of the game, the words game over and your score will appear on the screen. I have attached pictures of the final code and also a video of me playing the game and showing the features.


Sunday, September 22, 2019

It works!

When the phone holder came out of the printer the first thing that I did was test it to make sure that it actually would hold the phone and prop it up so I could have it on my desk and watch videos on my phone from an angle. As I stated earlier, I wish that the ledge where the phone sits was a bit more angled to secure the phone better as if it gets nudged it can easily fall off of the stand. However, it still gets the job done efficiently but if I had the chance to go back and tweak the measurements I would. Overall, I am really happy with how my print came out and I think it will be very useful and functional for me to use while working at my desk. This project was a great introduction for me to 3D printing and I am excited to learn more and possibly have the chance to print more designs! 

Here are some pictures of my phone on the phone holder:


Friday, September 20, 2019

Painting it!

After the product was all smoothed out it was ready to be painted. I wanted to paint my 3D print to make it more creative and put my own style into it. I decided to just paint a simple flower on the top of the print. I painted a base coat and let it dry overnight and the next day painted the flower which took me about an hour to complete.

Here are some pictures of that process.

Base coat of paint:


Beginning to paint the flower: 


Final product: 


Thursday, September 19, 2019

All done printing

After the 15 hours of printing, it came out looking great!

Here are some photos of the phone holder when it was done with printing.


The next step with this project was to get rid of the supports and clean up some of the rough edges of the print. My dad helped me with this and using his tools we got the phone holder looking smooth around the edges and we took off all the extra pieces. We used 60 grit sandpaper to smoothe the inside and the edges. We also used wood chisels and a hammer to chisel off/ knock off some of the spare plastic pieces. 

Here are some videos of part of the process.


And here's a photo of the holder all smoothed out.


One critique that I have about my print is the dip where the phone sits. I thought that the ledge would have been a little deeper to hold the phone a bit more secure but with a little nudge it can fall off easily. If the ledge was a bit more angled it most likely would have worked better for the purpose that I wanted. It still turned out great and will be very useful to have on my desk to prop up my phone!


Finishing up the Final Project

After I uploaded the video in the correct spot on the app, I wanted to test the results! I stood up the cereal box and used the scanner on ...